How To Replace An Outdoor Faucet: A Complete DIY Guide
Whether you're dealing with a stubborn drip, a corroded spout, or just want to upgrade to a frost-free model, this guide will walk you through everything you need to know. Replacing an outdoor faucet is a manageable DIY project that can save you money and prevent water damage. With the right tools, a bit of patience, and this comprehensive guide, you’ll have your new faucet installed in no time. Outdoor faucets, also known as hose bibs or spigots, are essential for watering gardens, washing cars, and other outdoor chores. Over time, however, they can wear out due to exposure to the elements, frequent use, or freezing temperatures. A faulty outdoor faucet not only wastes water but can also lead to more serious plumbing issues if left unchecked. By learning how to replace an outdoor faucet, you can ensure your home remains efficient and your outdoor activities uninterrupted. This article will cover everything from identifying the signs of a failing faucet to step-by-step instructions for replacement, along with maintenance tips to extend the life of your new fixture. Replacing an outdoor faucet doesn’t have to be intimidating. With clear instructions and a systematic approach, even beginners can tackle this task confidently. From gathering the necessary tools to troubleshooting common issues, this guide is designed to provide you with all the information you need. So, if you're ready to roll up your sleeves and take on this rewarding home improvement project, read on. By the end of this article, you'll not only know how to replace outdoor faucet but also understand how to maintain it for long-lasting performance.
Table of Contents
- Why Replace an Outdoor Faucet?
- What Tools and Materials Do You Need to Replace an Outdoor Faucet?
- Step-by-Step Guide to Replacing an Outdoor Faucet
- Installing the New Outdoor Faucet
- What Are the Common Mistakes to Avoid When Replacing an Outdoor Faucet?
- Maintenance Tips to Extend the Life of Your Outdoor Faucet
- Frequently Asked Questions About Replacing Outdoor Faucets
- Conclusion: Why Replacing an Outdoor Faucet is Worth the Effort
Why Replace an Outdoor Faucet?
If you've been noticing persistent leaks, low water pressure, or difficulty turning the handle, it might be time to replace your outdoor faucet. These issues are often signs of wear and tear, corrosion, or internal damage that can't be fixed with simple repairs. Ignoring these problems can lead to water wastage, higher utility bills, and even potential damage to your home's foundation or walls due to leaks.
Another reason to replace your outdoor faucet is to upgrade to a more efficient model. Frost-free faucets, for example, are designed to prevent freezing during the winter months, reducing the risk of burst pipes. Modern faucets also come with features like anti-siphon valves to prevent backflow, ensuring your drinking water remains safe. Investing in a high-quality outdoor faucet can make your outdoor tasks easier and more enjoyable.
Read also:Who Is Lakiha Spicer Discover The Inspiring Story Of A Rising Star
Lastly, replacing an outdoor faucet can improve the overall aesthetics of your home. A shiny, new faucet can enhance your home's curb appeal, especially if the old one was rusty or damaged. It’s a small change that can make a big difference in how your home looks and functions.
What Tools and Materials Do You Need to Replace an Outdoor Faucet?
Before you begin the process of replacing an outdoor faucet, it’s essential to gather all the necessary tools and materials. Having everything on hand will make the job smoother and more efficient. Here’s a list of what you’ll need:
- Adjustable wrench
- Plumber’s tape (Teflon tape)
- Screwdriver
- Pipe wrench
- New outdoor faucet
- Plumber’s putty (optional)
- Bucket or towel (to catch water)
Choosing the right replacement faucet is crucial. Consider factors like the type of faucet (standard or frost-free), material (brass, stainless steel, or plastic), and additional features such as anti-siphon valves. If you live in a colder climate, a frost-free faucet is highly recommended to prevent freezing and bursting during the winter months.
How to Turn Off the Water Supply Safely?
Before you start removing the old faucet, you must ensure the water supply is turned off to avoid flooding or water damage. Locate the shut-off valve that controls the water flow to the outdoor faucet. This valve is usually found in the basement, utility room, or near the main water line. Turn the valve clockwise to shut off the water.
Once the water is off, open the outdoor faucet to release any remaining water in the pipes. This step is crucial to prevent water from spraying when you disconnect the old faucet. Place a bucket or towel under the faucet to catch any residual water. Double-check that the water is completely off before proceeding to the next step.
Step-by-Step Guide to Replacing an Outdoor Faucet
Replacing an outdoor faucet involves several steps, but with patience and attention to detail, you can complete the task successfully. Here’s a detailed guide to help you through the process:
Read also:Discover Robie Uniacke A Journey Into His Life And Achievements
- Turn off the water supply (as explained above).
- Disconnect the water line from the old faucet using an adjustable wrench.
- Remove the mounting screws or bolts that secure the faucet to the wall.
- Carefully pull the old faucet out from the wall.
- Inspect the pipe and surrounding area for any damage or corrosion.
- Install the new faucet by reversing the removal process.
How to Remove the Old Outdoor Faucet?
Removing the old faucet is a straightforward process, but it requires care to avoid damaging the surrounding area. Start by using an adjustable wrench to loosen the nuts connecting the faucet to the water line. If the nuts are rusted or stuck, apply a penetrating oil like WD-40 to help loosen them. Once the nuts are removed, detach the water line from the faucet.
Next, use a screwdriver or drill to remove the screws or bolts securing the faucet to the wall. If the faucet is old or corroded, you may need to use a bit of force to pry it loose. Be careful not to damage the wall or pipe in the process. Once the screws are removed, gently pull the old faucet out from the wall and set it aside.
Installing the New Outdoor Faucet
With the old faucet removed, it’s time to install the new one. Start by applying plumber’s tape to the threads of the water line to ensure a tight seal. Insert the new faucet into the hole in the wall and secure it with the provided screws or bolts. Tighten them firmly but avoid over-tightening, as this can damage the faucet or wall.
Once the faucet is securely in place, reconnect the water line. Use an adjustable wrench to tighten the nuts, ensuring there are no leaks. Turn the water supply back on and test the faucet by running water through it. Check for any leaks or drips and address them immediately if necessary. Finally, clean up any tools and materials, and enjoy your newly installed outdoor faucet.
What Are the Common Mistakes to Avoid When Replacing an Outdoor Faucet?
While replacing an outdoor faucet is a manageable DIY project, there are a few common mistakes that can lead to issues down the line. Avoiding these pitfalls will ensure a successful installation:
- Not turning off the water supply completely: This can result in water spraying everywhere and make the removal process messy and unsafe.
- Over-tightening connections: Over-tightening can damage the threads or cause the faucet to crack, leading to leaks.
- Ignoring corrosion or damage to the pipe: Failing to address these issues can cause leaks or reduce the lifespan of the new faucet.
- Skipping plumber’s tape: Without it, the connections may not seal properly, leading to water leaks.
Maintenance Tips to Extend the Life of Your Outdoor Faucet
Once your new outdoor faucet is installed, proper maintenance is key to ensuring its longevity. Here are some tips to keep your faucet in top condition:
- Drain the faucet and disconnect hoses before winter to prevent freezing.
- Inspect the faucet regularly for signs of leaks or corrosion.
- Use plumber’s tape on threaded connections during installation or repairs.
- Keep the area around the faucet clean and free of debris.
By following these simple maintenance practices, you can extend the life of your outdoor faucet and avoid costly repairs in the future. For more detailed advice, check out this external guide on faucet maintenance.
Frequently Asked Questions About Replacing Outdoor Faucets
How often should I replace my outdoor faucet?
The lifespan of an outdoor faucet depends on factors like material, usage, and climate. On average, you should expect to replace it every 10–15 years. However, if you notice persistent leaks or corrosion, it may need replacement sooner.
Can I replace an outdoor faucet myself?
Yes, replacing an outdoor faucet is a manageable DIY project for most homeowners. With the right tools and this guide, you can complete the task in a few hours.
What type of outdoor faucet is best for cold climates?
Frost-free faucets are ideal for cold climates as they prevent water from freezing inside the pipe, reducing the risk of bursts during winter.
Conclusion: Why Replacing an Outdoor Faucet is Worth the Effort
Replacing an outdoor faucet may seem like a small task, but it can have a significant impact on your home’s functionality and efficiency. By addressing leaks, upgrading to a frost-free model, or simply improving the aesthetics, you’re investing in the long-term health of your plumbing system. With the right tools, a bit of patience, and this guide, you can confidently replace your outdoor faucet and enjoy the benefits for years to come.
Why Is BAM Called The 25th? Unveiling The Mystery Behind The Name
Exploring Pasha Pashkov's Nationality: A Comprehensive Guide
Norah O'Donnell Height: A Comprehensive Look At Her Career And Influence
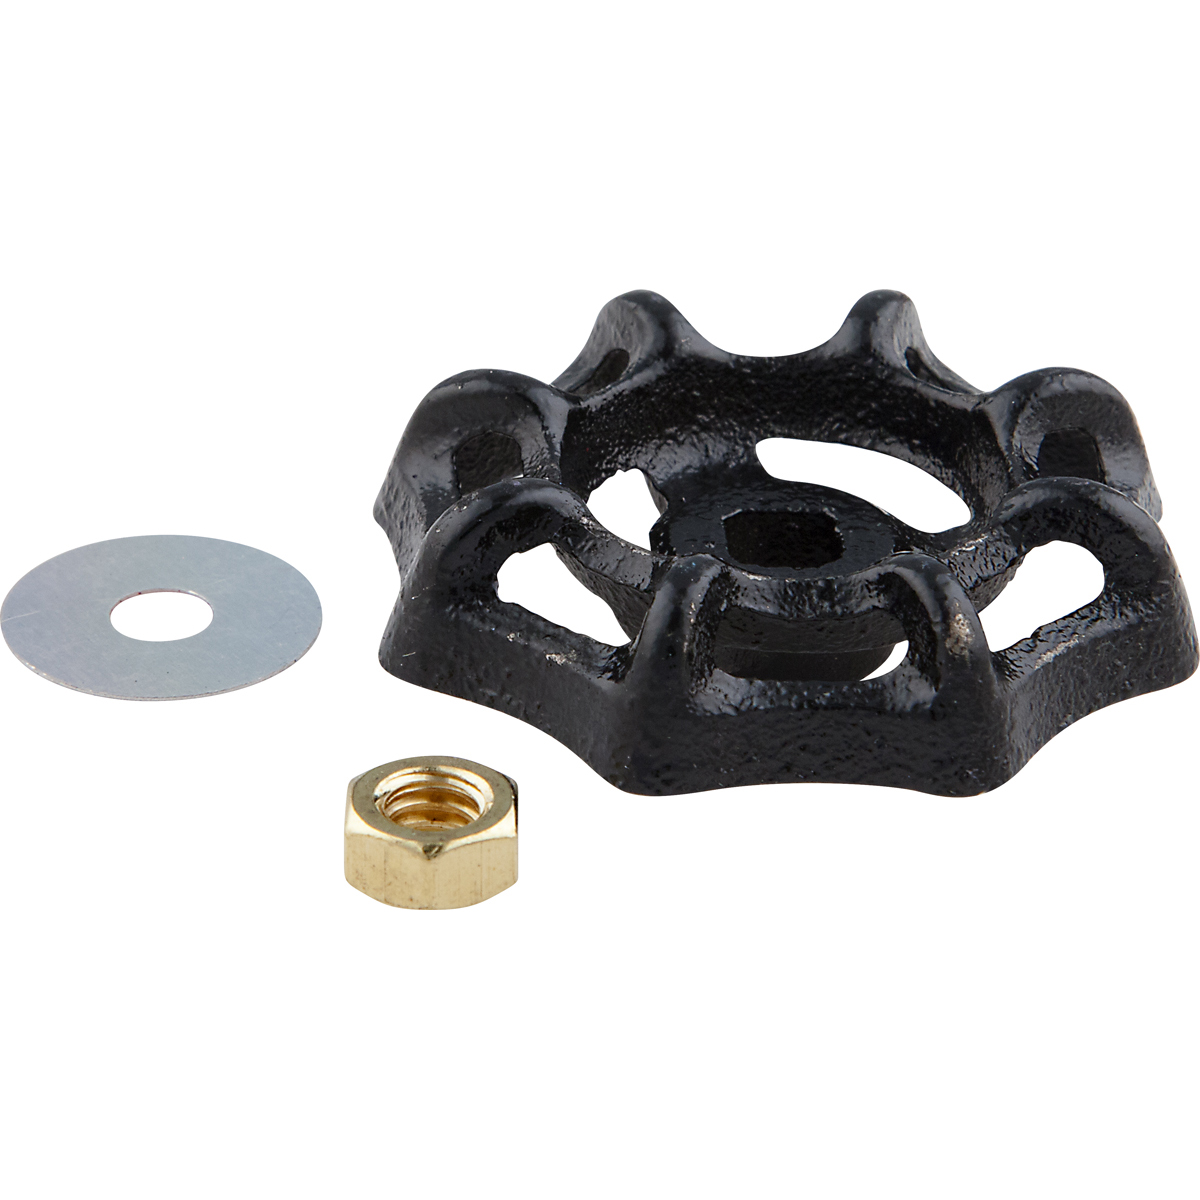
Outdoor Faucet Wheel Handle

How to Replace an Outdoor Water Faucet 14 Steps (with Pictures)
